Assembling the Challenge Project
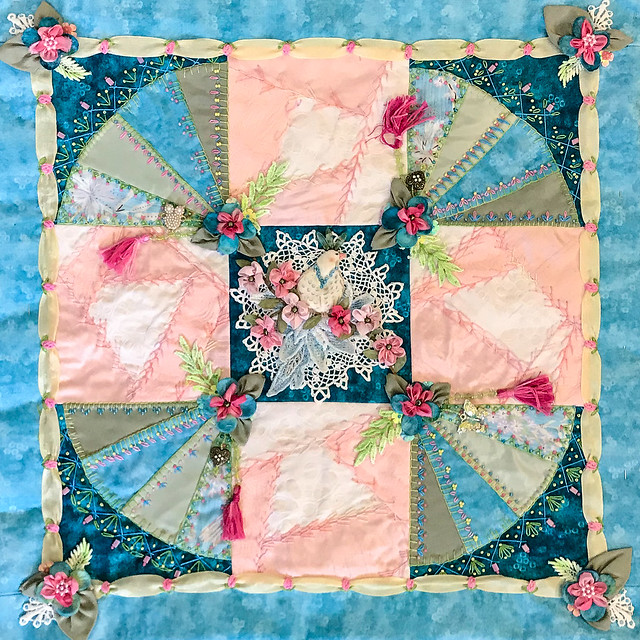
I've just posted the last YouTube video about the creating of my Challenge Project for the 2019 Windsor Retreat! You can find it here: Challenge Project Central Block Since I was under a time crunch at the end, I did not film the final assembly of the project, but I did take some photos along the way, so I thought I would share a little bit about how I put it together here.

The first step was laying out all the layers of the project. There are three primary layers in this project. The front crazy quilted piece (I count the backing fabric and the pieced and embellished front as one layer at this point); a layer of batting - I used a piece of white 100 % cotton flannel, which is my favorite batting/interlining for crazy quilts; and the backing with a hanging sleeve pre-sewn onto it. I'll show how to do that at a later date.
Once the layers were assembled and pinned in place so they would not shift, I squared the project using a combination of both a 12" square and a 6" x 24" Omni-grid ruler. I marked the squared perimeter on the back using a purple disappearing ink pen.

Next, I trimmed away all but ¼" of the backing fabric and flannel batting. I did find it helpful to mark this line as well. As you can see my inner line was already fading, but that wasn't a problem as I knew that once the front was folded around to create a binding on the back side, the project would remain square if my initial measurements were correct.

Then I folded and pressed the front fabric edge towards the back with a ¼" fold. Note that when I make the second fold, the backing fabric and lining will not get folded into the binding. This helps it to lay nice and flat.

If I didn't take care, this is what it would look like before making the second fold. There would be a lot of extra bulk in the binding and it would make it hard to mitre the corners.
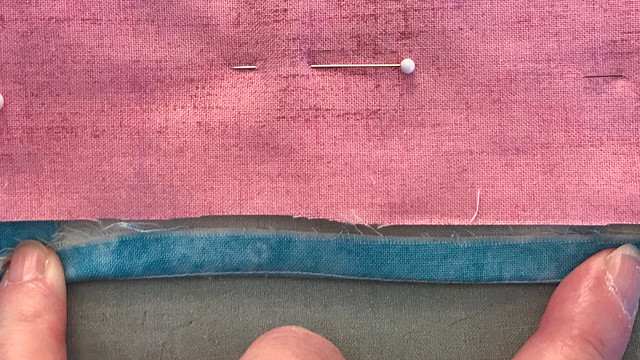
With lots of space, things will stay nice and flat!
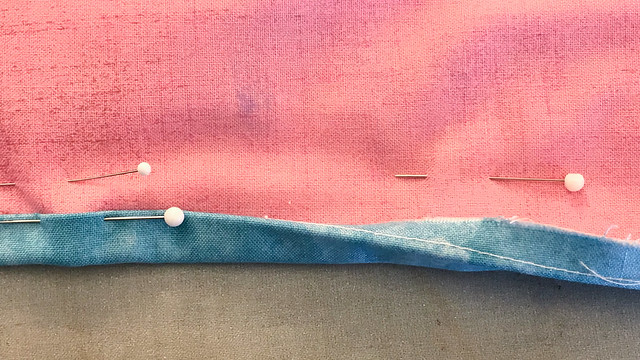
Fold again, slightly more that ¼" and pin up to the backing, keeping it as smooth and flat as possible.

Mitre the corners. This view also shows the edge of the hanging sleeve that I had attached to the backing prior to assembly.

I left the backing pinned through the front to keep everything positioned properly while I stitched the binding.
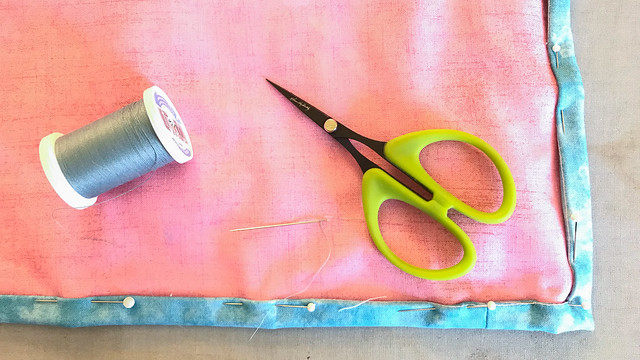
I choose thread to match the binding fabric, got out a needle and my scissors.
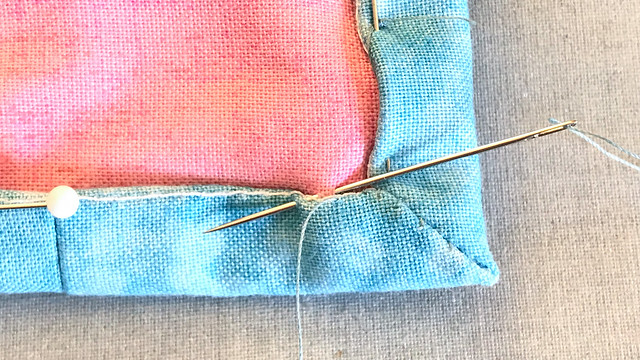
I stitched the binding to the backing with a tiny whip stitch, being sure to go through the flannel as well to help hold everything in place.

This is the entire back once completed. The blue rectangle at the top is the hanging sleeve. I do this on all my crazy quilt pieces that will be wall hangings. If I need to hang it with thumbtacks, which is what I do for most of my small projects, then the tacks can go through the sleeve and not impact the actual piece at all. Or I have the option of suspending it from a sashing rod. It's good to have options!
The last thing I did was to write my name across the bottom. I usually create a quilt label for my projects, but since I was under a time crunch to get this one completed, I did not get it done before I finished it. So writing on the backing worked well. I used a Pigma Micron Pen to do this.
I like the effect of the reverse binding on this particular project. It finished it off nicely and meant that I didn't have to count the backing fabric in my additions to the Challenge Project. If it had shown on the front, I would have needed to include it in my count and I would have had to leave something else out.
On a larger project, I would have added some basting between the layers and possibly some tacking through to the back side to distribute the weight. This was pretty light weight, so I wasn't worried about it distorting too much.


Comments